


Why Choose Cladco Standing Seam?
Made To Measure
Manufactured to custom lengths, reducing waste and ensuring a perfect fit.
Exceptional Durability
GreenCoat® Pural BT offers outstanding resistance to corrosion and UV radiation.
UK Manufactured
Produced in the UK for faster lead times, reliable quality, and a lower carbon footprint.
Scratch & Fade Resistant
Built to withstand installation handling and external abrasion - making it ideal for roofing and cladding.
Superior Colour Retention
The finish maintains its colour and gloss for years, even in harsh conditions.
About Cladco Standing Seam
Order A Sample!
The best way to choose a colour for your standing seam sheets is by ordering a sample pack.
Order A Sample Pack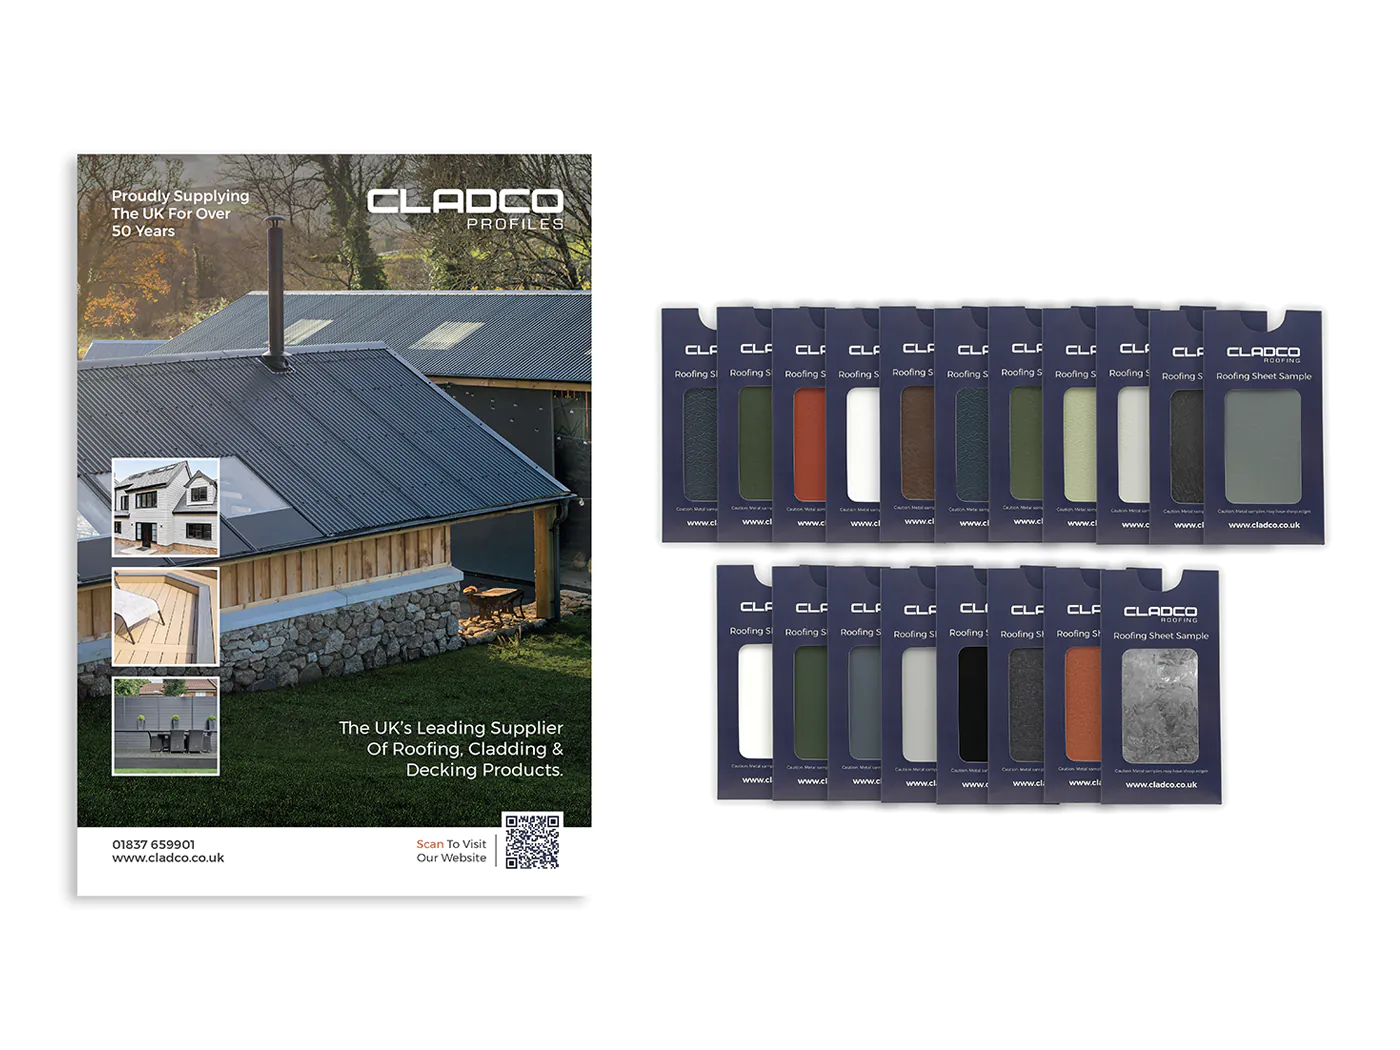
Profile Diagrams
Standing Seam 30/500 Profile - Without Ribs

Standing Seam 30/500 Profile - With Ribs

GreenCoat® Pural BT Coating
Cladco standing seam roofing sheets feature a GreenCoat® Pural BT finish. This coating reduces impact on the environment, made with Swedish rapeseed oil which is a renewable resource. You can expect a life of up to 40 years depending on the environment when installing our standing seam sheets.
Our standing seam roof sheets are available in Slate Grey, Nordic Night Black, Silver Fir Green and Tile Red with matching flashings.
Using GreenCoat® Pural BT coated steel ensures your project is resistant to scratching, corrosion, weather damage and effects from UV rays, resulting in a durable and long-lasting roofing or cladding solution. GreenCoat® Pural BT is A1 fire-rated (BS EN 13501).


Installing Standing Seam Sheets
Before installing standing seam sheets, 18mm OSB board, or plywood board, needs to be installed over the roof’s frame, then covered with breathable membrane stapled into place. When installing cladding and roofing, undergo the cladding installation first.
Roofing
1. Install backer plate flashings to the ridge (for mono-pitched roofs) and verge, as well as eaves flashings where required, using annular ring nails to secure through the flashings to OSB or plywood.
2. Working from right to left, cut off the right-hand seam of the first standing seam sheet and create a 25mm upstand. The upstand will be used to indicate the edge/start of the cladding and will be later covered by a flashing.
3. To fix sheeting, drive ring nails through the perforated fixing holes at the edge on the left-hand side of the sheet either with a hammer or a nail gun. Hammer ring nails in the middle of the fixing hole slot to allow for any expansion or contraction in both directions. As a rule, nail through every third hole down the perforations or every second hole for particularly exposed areas.
4. Line up the next sheet and install by tapping seams together starting at one end and working your way along the sheet using a rubber mallet. Sheets will snap together along the seam and can be separated again, if required, by lifting the left edge of the sheet before it has been nailed into place.
5. Cut the last sheet to width and fold a 25mm upstand to be covered by a verge flashing and to help prevent water ingress.
6. Secure z bars (notched) along the top of your roof just under the ridge line. Position the z bar using a temporary ridge flashing piece along a straight line.
7. Measure and cut ridge flashings or mono ridge flashings to fit along the apex of your roof to complete your installation.

Cladding
1. Install j-rail flashings along the eaves and drip tray flashings to the base of the wall cladding area.
2. Fix sheets to boards using the same technique as roof sheeting.
3. Fix z bars to both sides of a corner using ring nails and clamp onto the corner barge flashings to finish.

FAQs
What are the advantages of standing seam metal roofing?
There are many advantages when it comes to choosing standing seam for your projects. Cladco standing seam roof sheets are a versatile product that can be utilised as cladding or roofing in domestic and commercial applications. The contemporary aesthetic appeal of our standing seam roofing means it is often featured in architectural projects such as home extensions and barn conversions.
The GreenCoat® Pural BT coating makes standing seam a sustainable and environmentally conscious product. Pural BT coating is produced with Swedish rapeseed oil, which is a renewable resource and provides scratch, corrosion, UV and weather resistance.
What is the life expectancy of a standing seam metal roof?
The life expectancy of our standing seam sheets, when used for roofing or cladding, is up to 40 years. The durable Pural BT finish resists damage due to weather conditions which allows for a long, low-maintenance life.
Is standing seam worth the money?
If you are looking for a high-quality, sleek and resistant roofing or cladding material that will stand the test of time, Standing seam sheets are the perfect choice. When installed, standing seam creates a modern exterior for your project, which is the main reason people are drawn to it.
Our standing seam sheets are competitively priced compared with others available on the market, offering value for money without compromising on quality or aesthetics.
Product Reviews

Colour Swatch - Roofing Sample
Verified Buyer
Colour Swatch - Roofing Sample
Verified Buyer
Colour Swatch - Roofing Sample

Verified Buyer