When building a roof, the correct Flashings play an integral role in protecting the structure and the contents of a building from leaks, water intrusion and pests. As well as creating a waterproof seal, they can also add to the finish of the roof, creating seamless lines and joins between sheets, tiles and wall edges.
Here we discuss the various types of flashings available, why they're required, and where to install them depending on the type.
The different types of roof flashing materials include aluminium, copper, steel, rubber and plastic. Choosing the right one will be determined by a number of key factors, including the shape of the roof, the roof features and the existing roofing material.
What is a Roof Flashing?
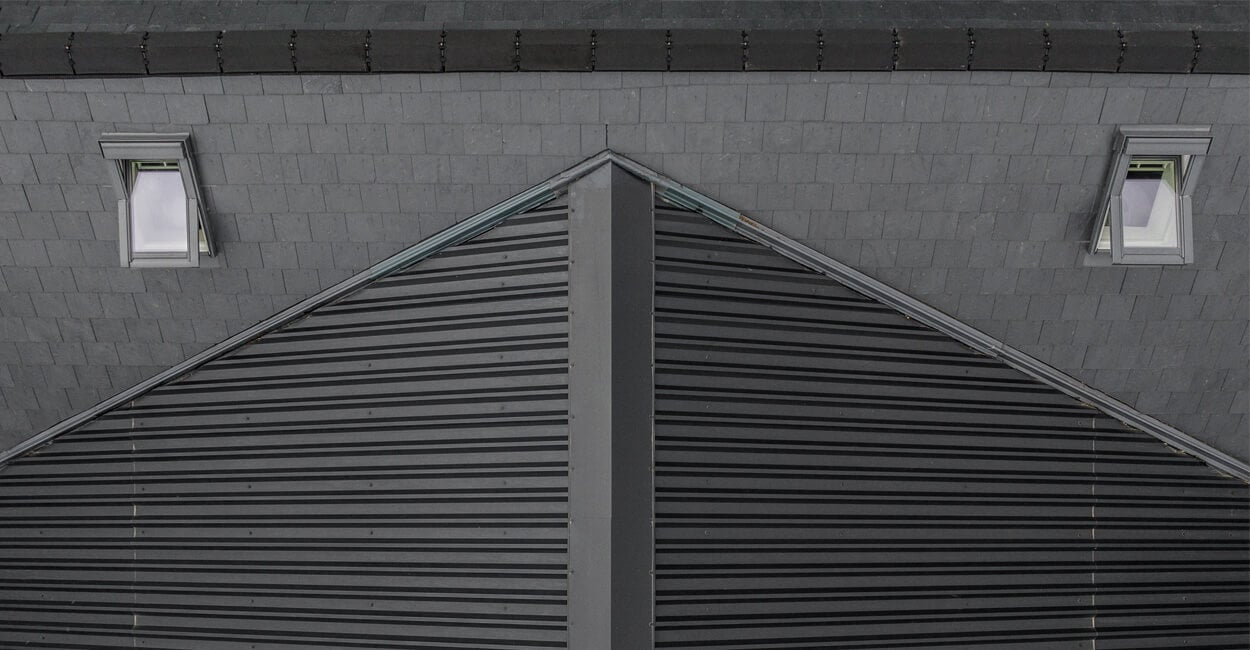
Roof flashings offer an additional layer of weather sealant and protection for a roof. Without a roof flashing, the edges, seams and joins on a roof are left exposed and the lifespan of a roof and its contents will be drastically reduced.
Flashings are used for many parts of the roof, such as around chimneys, a roof deck, skylights, and vents, or where vertical walls meet the eaves of a roof. The installation of flashings will need to be completed either before or after the roof materials are installed, for example, a chimney flashing.
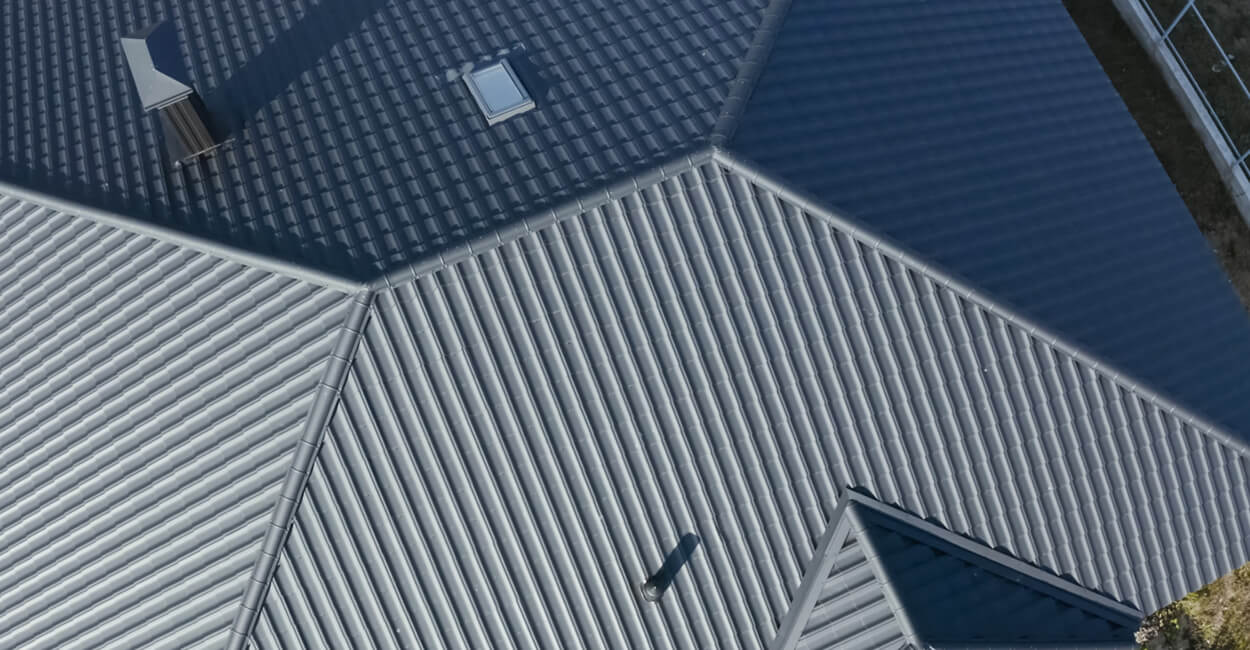
A metal flashing can lie on top of the roof sheeting and is sealed with stitching screws, mastic lapping tape or silicone depending on the roof material it is being fitted to.
Calculate the cost, number of sheets and fixings you may need using the Cladco Roofing Calculator.
Roof Flashing Materials
The majority of materials used for flashings are thin, malleable metals, with the three most popular being:
- Aluminium roof flashing: Generally an easy, malleable and lightweight material for different types of roof flashing to be manufactured from, however, if plain aluminium is to be used alongside stone masonry and concrete materials, it must be coated to prevent degrading or erosion that could be caused by contact with alkaline substances or other building materials.
- Copper roof flashing: Another malleable material used to make thin metal flashing types, especially those installed around chimneys, is copper. It requires careful soldering and has excellent durability and longevity. One downside of copper flashing however is that as a material, it can be susceptible to discolouring due to oxidation.
- Steel roof flashing: As the most widespread choice of material for flashings in the roofing industry, steel is a malleable material that adds to the aesthetics of a roof - especially when paired with Steel roof sheets, as well as having great corrosion-resistant properties when the steel has been galvanised.
It is also possible to use plastic or rubber to manufacture flashings, however - rubber poses a fire risk and so is not safe or durable and is very rarely used in this sense. PVC Plastic, whilst durable and waterproof, cannot come into contact with asphalt and is therefore inappropriate for most roofing projects.
Different Types of Roof Flashing
Continuous Flashing

A continuous roof flashing, also known as an “apron flashing” is a long, singular piece of flashing made from thin metal that seals the roof joint between a vertical wall and a sloped roof, and funnels water away, preventing leaks.
Where used: A continuous flashing is often installed under roofing materials such as roofing felt at a "roof meets wall" join.
Installation: When installing continuous flashings to your roof where it meets a wall, it is important to take into consideration that the house will expand and contract with the temperature changes throughout the year. Unless your continuous flashing has built-in expansion joints, they can have trouble flexing and can break/crack with these house movements.
Step Flashing
A step flashing is a thin, rectangular piece of flashing that is warped at an angle of 90 degrees and applied to create a watertight seal where the roof plane meets a wall. In a spot like this, it is very likely that water could flow down the wall above and past the shingles, therefore, damaging the building below, so this type of flashing correctly installed is important.
Where used: An example of where a step flashing would sit on a roof is where a dormer window projects out from the roof face, or where a vertical wall meets a roof edge.
Installation: install step flashing along a wall and roof edge by overlapping each with the next bent rectangular step flashing, creating a layered overlap along the entire edge.
Valley Flashing
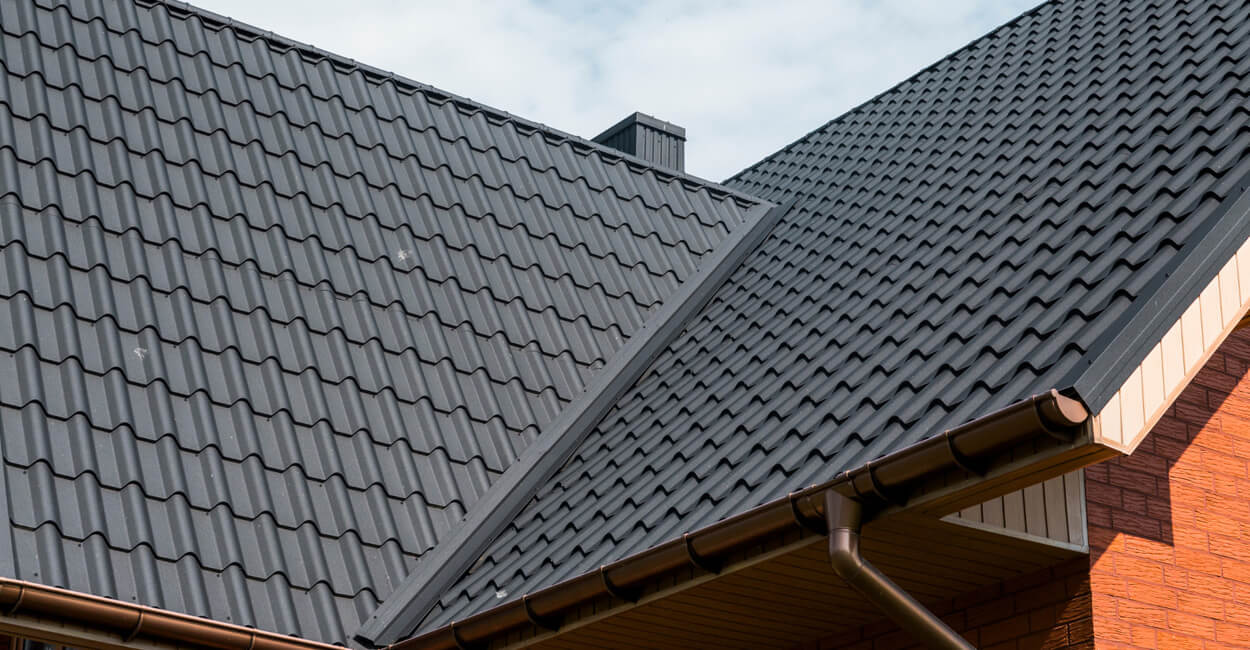
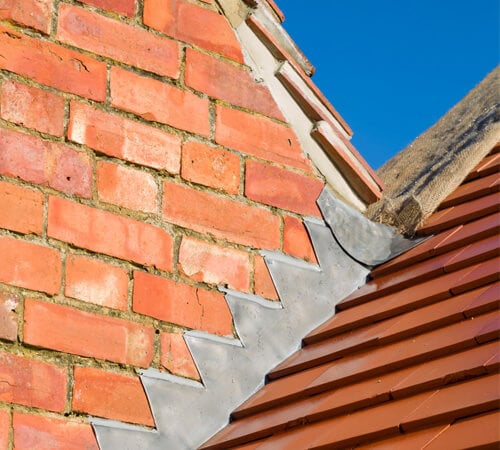
Where used: Used where two different sloping sections of a roof plane meet up at an angle, or what is known as the open "valley" of a roof.
Installation: Valley flashings are fitted here to redirect rainwater in the opposite direction from the roof to protect and prevent debris from building up and causing leaks or damage.
Drip Edges
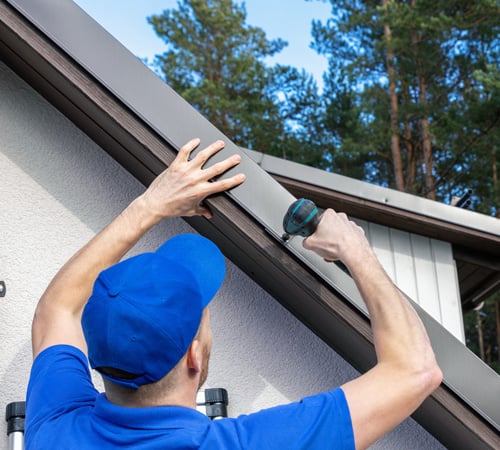
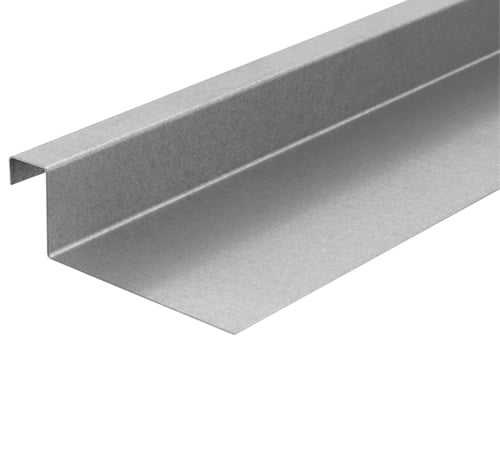
Where used: Drip edges or Drip Tray Flashings are a necessary part of any roof installation. They protect your home by preventing water from entering behind the gutter and running down the exterior walls of your house - which could result in rotting if too much moisture gathers in one area.
Installation: Installed above windows and doors, or the edges of an entire roof, Drip tray flashings help to control the water flow away from the fascia of the house by providing an efficient course for it to run from the roof.
Cladco Roofing supplies high-quality Galvanised Steel Drip Tray Flashings in a range of colours and coatings to suit your home aesthetic, whilst keeping it well protected.
Base Flashing
A base flashing is used when a part of the roof, like a dormer window or chimney, requires more than one piece of flashing to serve its purpose of protecting the roof and keeping it watertight.
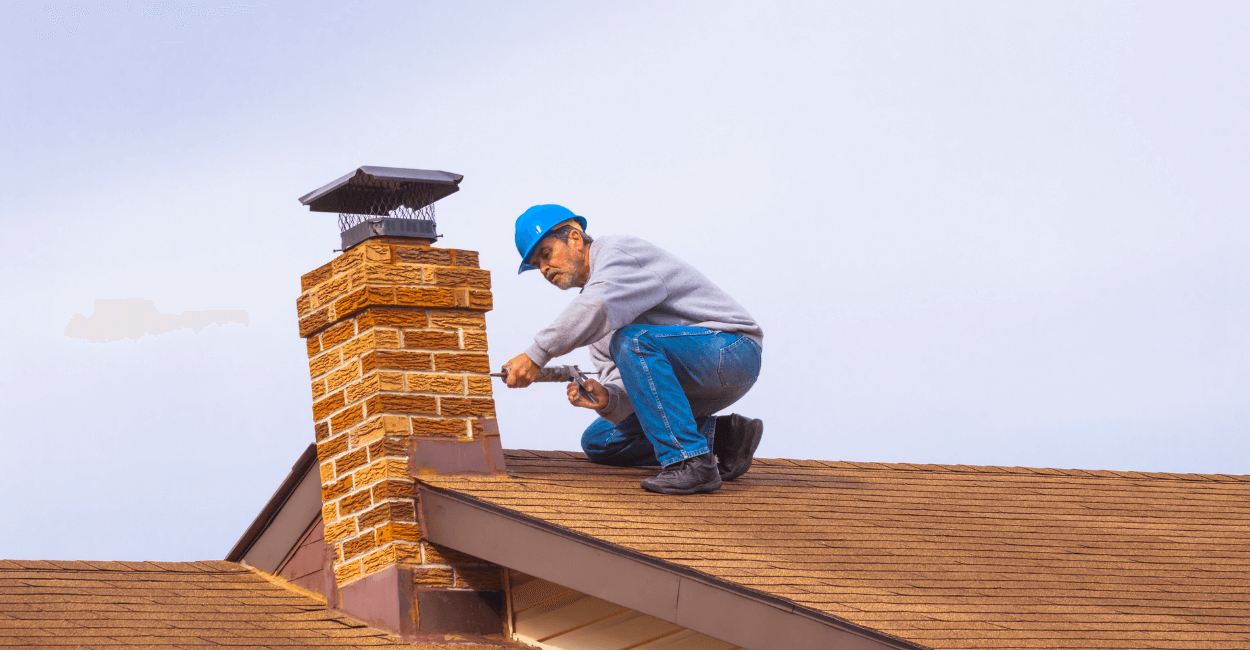
Where used: Where a vertical surface lies flat and meets a roof, and multiple pieces of flashing or a two-part flashing is required - ie) a chimney.
Installation: A professional roofing contractor would install a base flashing at the joint where the roof meets with the vertical feature before installing other flashings, such as a counter flashing to its surface.
Counter Flashing
A counter flashing is a key element that, alongside a base flashing, makes up a two-piece flashing. The result is a seamless and sealed edge around the base of a protruding roof feature such as a chimney for example.
Where used: Most commonly installed at the base of the roof's chimney, a counter flashing completes a base flashing (as discussed above) when installed together. Professional roofing contractors can also use counter flashings for other purposes, but most of the time, it involves more than one flashing type to work correctly.
Installation: Install counter flashing opposite or above a base flashing surface - simultaneously the two flashings come together around the base of a chimney, and are embedded in its masonry.
Vent pipe flashing
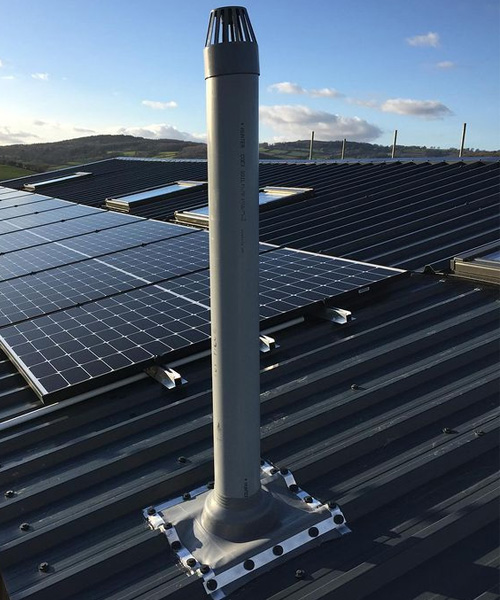
Where used: A vent pipe flashing, also known as a plumbing vent boot flashing, is a cone shape used to cover the gap where a cylindrical vent or pipe meets the surface of the roof, sealing it and preventing leaks and draughts.
Installation: The cylindrical shape of the flashing can be installed flush with the extruding pipe or vent, and sealed with a high-quality sealant to ensure the system stays secure
If you are installing a vent pipe flashing on a roof whereby you have used Cladco Steel Roof Sheets and are fixing the flashing in place with screws, Cladco supplies a range of Colour Caps. Colours Caps are designed to fit over an 8mm hex head screw, to cover the screw and help to blend in with the Roof Sheet for a more concealed finish.
Our TEK screw covers will give a more professional look to any installation and provide the finishing touch for your roofing and flashings.
Cap flashing
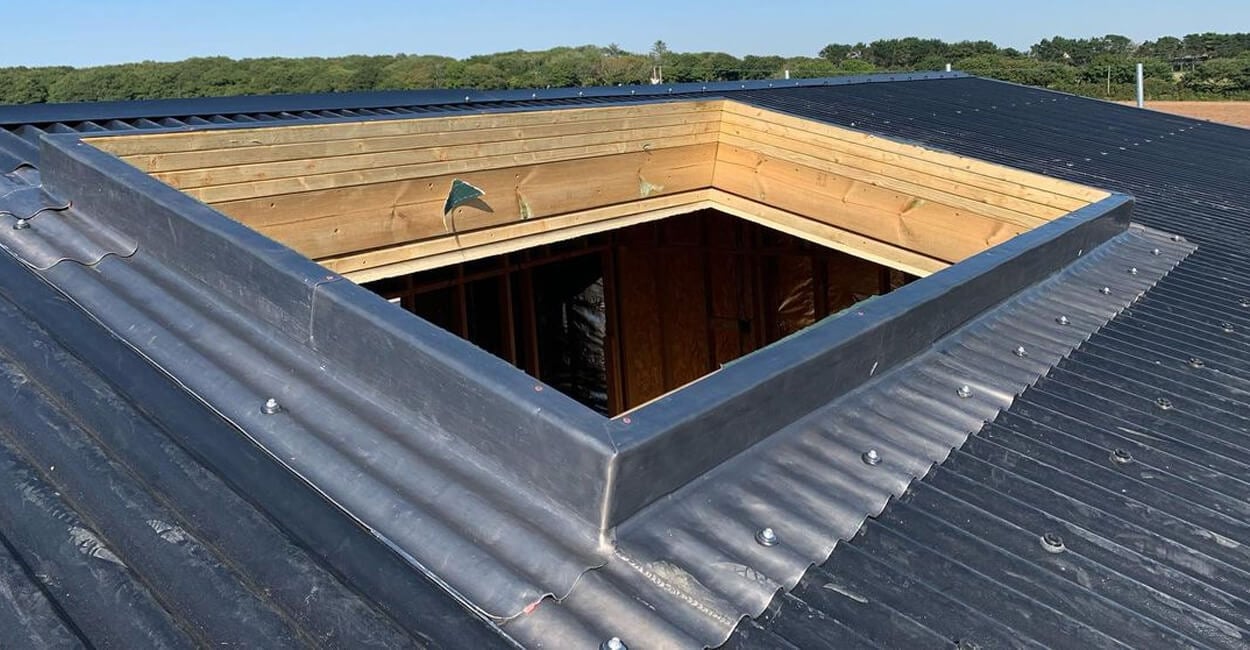
Where used: to direct rainwater away from critical areas of a roof, such as around a skylight, roofing professionals would use a cap flashing. Some skylight manufacturers will include a flashing with the product, making it easier for roofing contractors to fit.
Installation: installed wherever a roof meets a protruding object, cap flashings protect against water damage, they direct water and any liquid to the shingles and to where the gutter begins. Cap flashings can be custom-made to suit any roof flashing shape and are an integral part of any roof.
Metal Roofing Flashings:
Barge Flashings
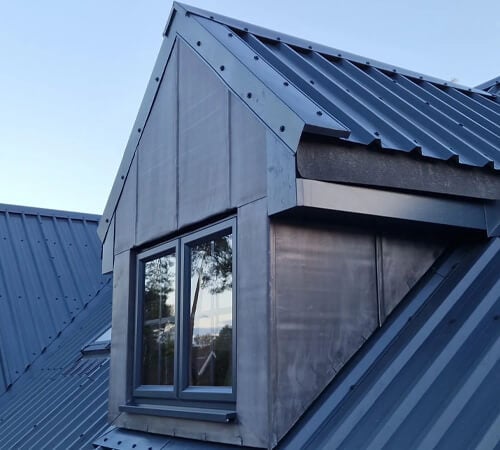
Where used: A Barge Flashing, sometimes known as Corner Barge Flashings or Verges are used to seal and trim off the edge of the roof. Cladco Corner Barge Flashings are an integral part of any profiled metal roof, as they help to weatherproof the building and create a seamless finish.
Installation: Barge Flashings are installed at the end of a run of sheets where there is an open edge. At Cladco Profiles we aim to accommodate wherever possible, and so custom-cut corner flashings are available. Simply provide us with the dimensions or a drawing of the trim you are looking for and we will do our best to accommodate you.
Available in 3m lengths and a range of Colours and Coatings to suit, all our Flashings can be cut to custom measurements and fastened with Stitching Screws to the Roof Sheet below.
Ridge Flashing
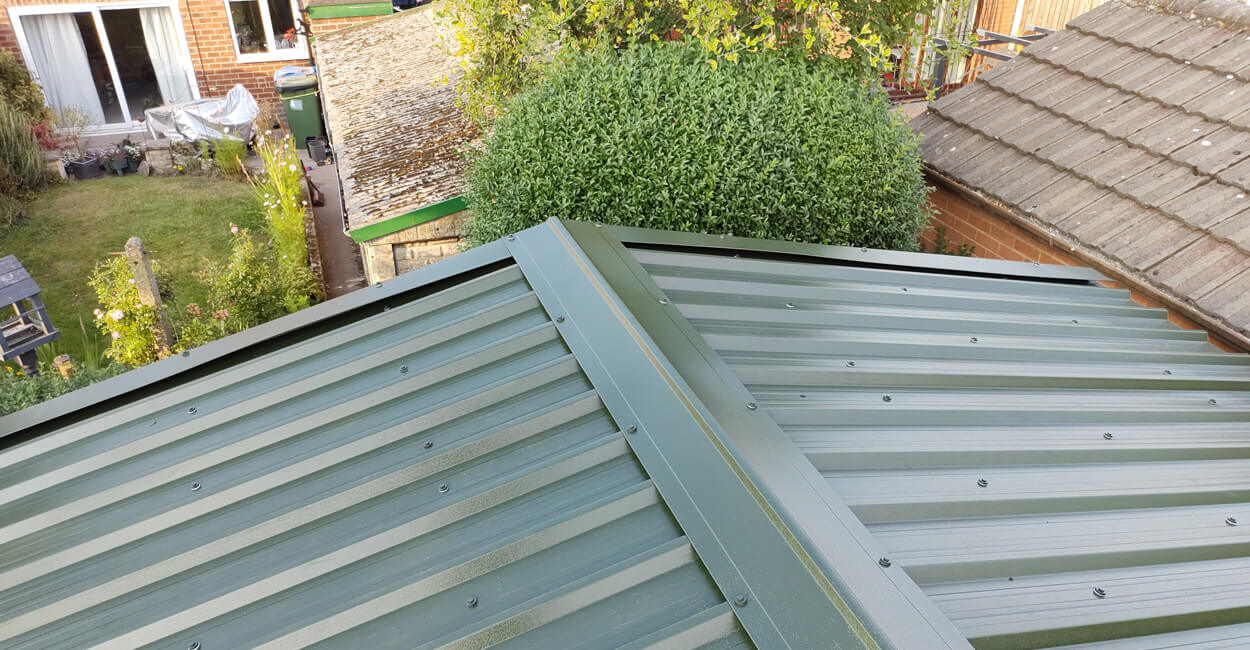
Where used: Ridge flashings are used to protect the roof and neatly join the two roof planes together. Cladco Ridge Flashings are available in two styles – the Standard Ridge and the Nordic Ridge. Nordic Ridge Flashings features a stylish diamond top profile, whereas Standard Ridge Flashings do not.
Installation: A ridge is a flashing which is installed on the apex of a roof, where two roofing sheets meet at the top, and works by preventing any rain, snow or wind from entering the roof and preventing unnecessary heat loss from the building.
Both Nordic and Standard Ridge Flashings by Cladco Roofing have an internal angle of 130 degrees and are capable of being flexed by 10-15 degrees during installation and are available in a range of coatings and colours to suit.
Wall Abutment
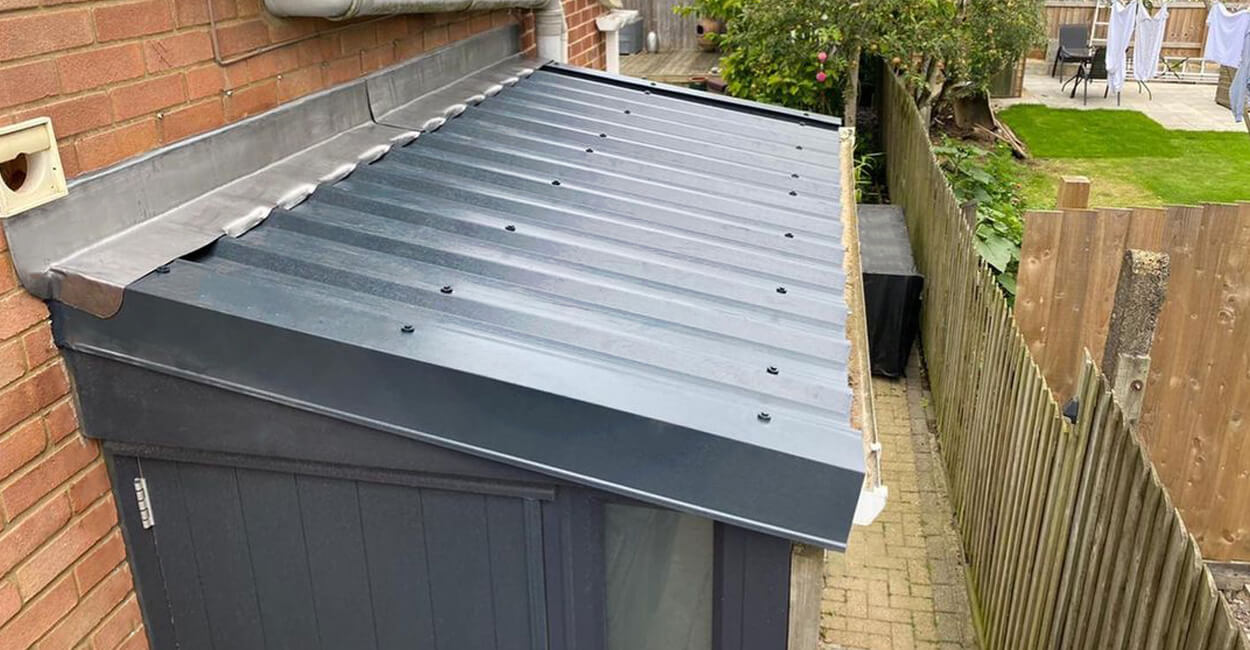
Where used: Wall abutments or wall flashing are used where steel sheets finish against a wall and you need to create a seamless trim and seal.
Installation: Abutment flashings can be installed to flash the top of lean-to roofs to ensure a watertight finish, and can also be used where roofs meet a wall. Use appropriate stitcher screws to stitch the abutment to the highest point of the profile on the sheet
Eaves Flashing
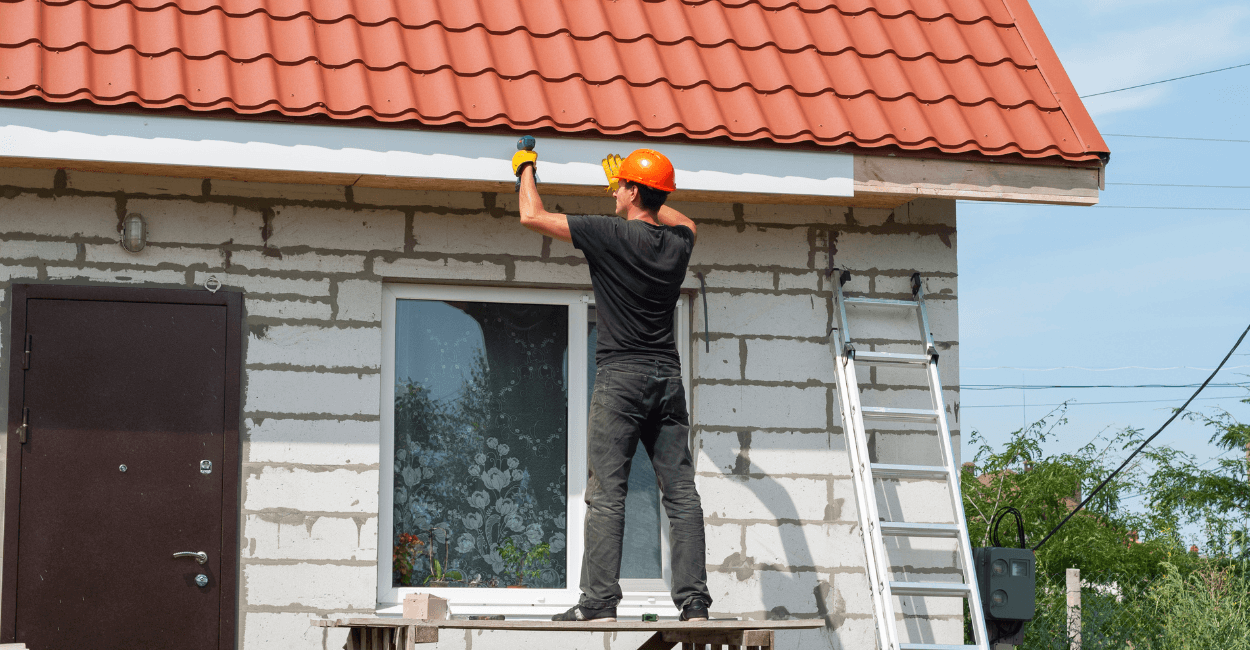
Where used: Eaves flashings are typically installed under roofing sheets or on the overhang of a tiled roof at the eaves.
Installation: Eave flashings are installed to protect the facade of the building from harsh weather conditions and provide an additional element of support to the roof structure. They can also be used to add a decorative element to the outside of the home., or to cover an unsightly old flashing.
For more information about Cladco Roofing Sheets or Flashings, see our website, or contact a team member on 01837 659901.
Last Updated: November 10, 2025
Please note all information is correct at the time of writing. However, we encourage you to do your own research to ensure it remains accurate and relevant to your needs.


