Learn how to refinish older decks with stain

Article summary:
When it comes to decking, we all know we want it to last for as many years as possible. However, as with anything that is kept outside 24/7 and exposed to the elements, debris, high levels of foot traffic, and more, your deck can eventually start to show signs of weathering. Deck stains, marks, scratches, and fading can all occur naturally as the years go by.
For timber decking, it is recommended that you regularly clean and treat your deck to help ensure its appearance as well as its structural integrity and longevity.
In this article, we will explain how to restain a deck without stripping, staining a previously stained deck, and restaining wood.

Can you stain over a previously stained deck?
Is your deck starting to show its age, with signs of rot, discolouration, splintering or warping? Maybe the stain is beginning to peel away and no longer offering protection. If that’s the case, it could be time to re-seal your timber. Applying a transparent or semi-transparent deck stain not only protects the boards, but also enhances their natural wood grain for a smart, long-lasting finish.
A quality deck stain acts as a shield against moisture and UV damage, two of the biggest causes of rot, warping, fading, mould and mildew. Protecting your boards now can save you costly repairs later on, while keeping your outdoor space looking its best.
Staining isn’t a one-off job, though. Most wooden decks require a fresh coat every 2–5 years, or sooner if the existing finish starts to peel. While some people simply apply stain over the old layer, this can leave boards looking patchy. For the best results, it’s usually recommended to remove any flaking or worn areas before reapplying, giving your deck a cleaner, more professional finish.
Recommended tools & materials
When restaining a deck, there are a few things you may want to have handy.
- Pressure washer / power washer
- Decking cleaner or dish washer detergent
- Deck stain
- Garden hose
- Bristle brush/broom
- Stiff brushes
- Belt sander
- Sand paper
- Paint tray
- Rollers
- Patience
- Good weather
How to prep a deck for restaining
Before applying stain to your decking, it’s essential to prepare the surface properly. Natural timber should always be thoroughly cleaned so that dirt, mould, and mildew aren’t trapped and sealed into the wood. Taking the time to do this step well will help the stain bond effectively and extend the life of your deck.
If your deck has only recently been installed, patience is key. It’s usually best to wait around six months before staining, varnishing, or treating the boards. This allows the timber to fully acclimatise to its environment, ensuring the stain penetrates more evenly.

STEP 1: CLEAN YOUR DECK
Keeping your deck clean is one of the most important parts of regular maintenance. A freshly washed deck surface not only looks better but also makes it far easier to prepare for the next stage, applying stain to your deck evenly and effectively.
For a detailed account on how to clean a deck, see our blog here.
1. Begin by clearing your deck of furniture, pots, and any loose debris. Use a broom to sweep away surface dirt and dust.
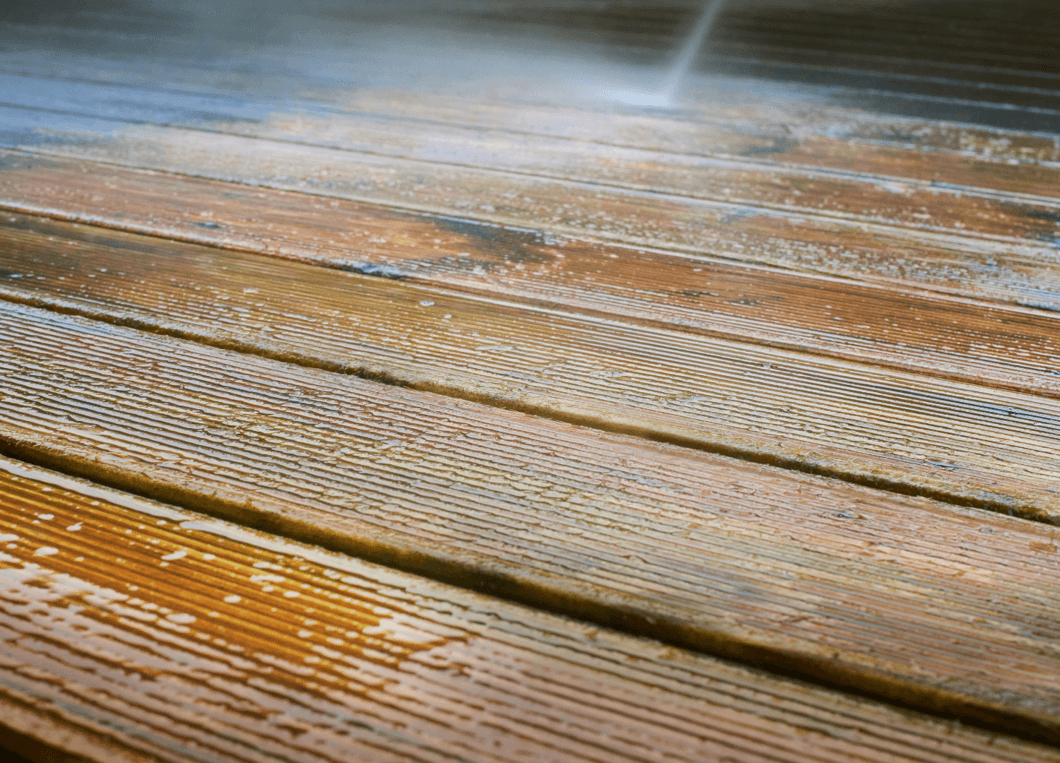
2. Lightly dampen your decking boards with a garden hose or pressure washer. If you're using a pressure washer, keep the nozzle at a safe distance, as using too close to the boards could damage the wood.
3. When cleaning, pay close attention to the gaps between your decking boards, removing twigs, grass, or trapped dirt that may have accumulated over time.
4. Mix a recommended decking cleaner (or a mild household detergent) with water and apply it to the deck. Scrub the surface with a stiff-bristled brush or sponge until it begins to lather. Always check the cleaner’s instructions before use.
5. ORinse away the cleaning solution thoroughly using a hose or pressure washer, ensuring no foam or residue remains on the deck.
6. Leave the deck to dry completely before moving on to the next stage of staining or treatment.
STEP 2: SANDING & STRIPPING BEFORE REFINISHING

Once your deck is clean and dry, the next step is sanding and stripping the boards. This removes any old stain or varnish while opening up the wood’s pores, allowing the new stain to penetrate more effectively and provide longer-lasting protection. To see how to prepare your deck for sanding, see our helpful blog here.
1. Check your deck for imperfections, rough patches, or areas where stain or varnish is peeling. Pay extra attention to high-traffic zones, such as walkways, as these often show the most wear and may need more thorough sanding.
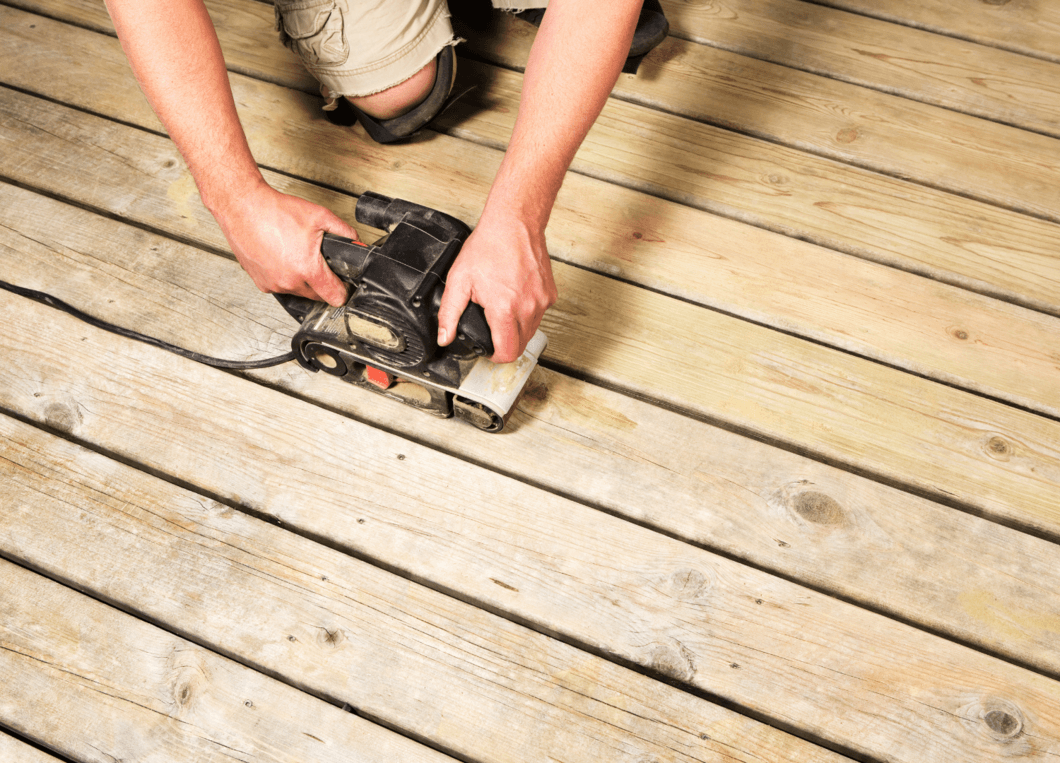
2. With a belt sander or sandpaper, sand your decking boards until smooth and free of any of the old stain layer.
3. Once you have sanded down the entirety of your deck, including any nooks and crannies, give your deck a final brush down, removing any dust or wood fibres.
For a detailed guide on how sanding your decking can improve the results when you stain or paint your boards, take a look at our full blog here.
How to stain a previously stained deck
You'll no doubt be pleased to know that when it comes to decking boards, staining your deck doesn't have to be a complicated process. The key is choosing the right wood stain for your decking boards.
There are several options available, including transparent, semi-transparent, and solid stains. You'll also find both oil-based and water-based products. For outdoor decking, oil-based stains are often the preferred choice, thanks to their durability and ability to provide longer-lasting protection than water-based alternatives.
No matter which stain you select, the application process is generally the same. Semi-transparent stains are particularly popular as they highlight the natural wood grain, giving your deck a rich, attractive finish. Solid stains, on the other hand, create a more uniform, block-colour look once the boards are dry.
For most timber decks, a semi-transparent stain is considered the best option. It allows the wood's natural character to show through while also acting as a brightener, enhancing the colour of your decking. Whichever style you choose, a quality deck stain will help shield your boards from mould, mildew, and harmful UV rays, keeping your outdoor space looking better for longer.
STEP 3: RESTAIN YOUR DECK
Before you begin, make sure your deck is completely dry. Staining damp boards can prevent the product from absorbing properly. It’s also best to avoid working in direct sunlight or on an overly hot surface, as this can cause the stain to dry too quickly and lead to an uneven finish.

It’s a good idea to start by testing your chosen stain on a small, discreet section of wood. This will show you whether the stain adheres properly and delivers the finish you’re looking for. If the stain doesn’t stick to the deck, it may need to be stripped away and replaced with a more suitable product. Once you’re happy with the test patch, you can move on with confidence and follow the steps below to coat the rest of your deck evenly.
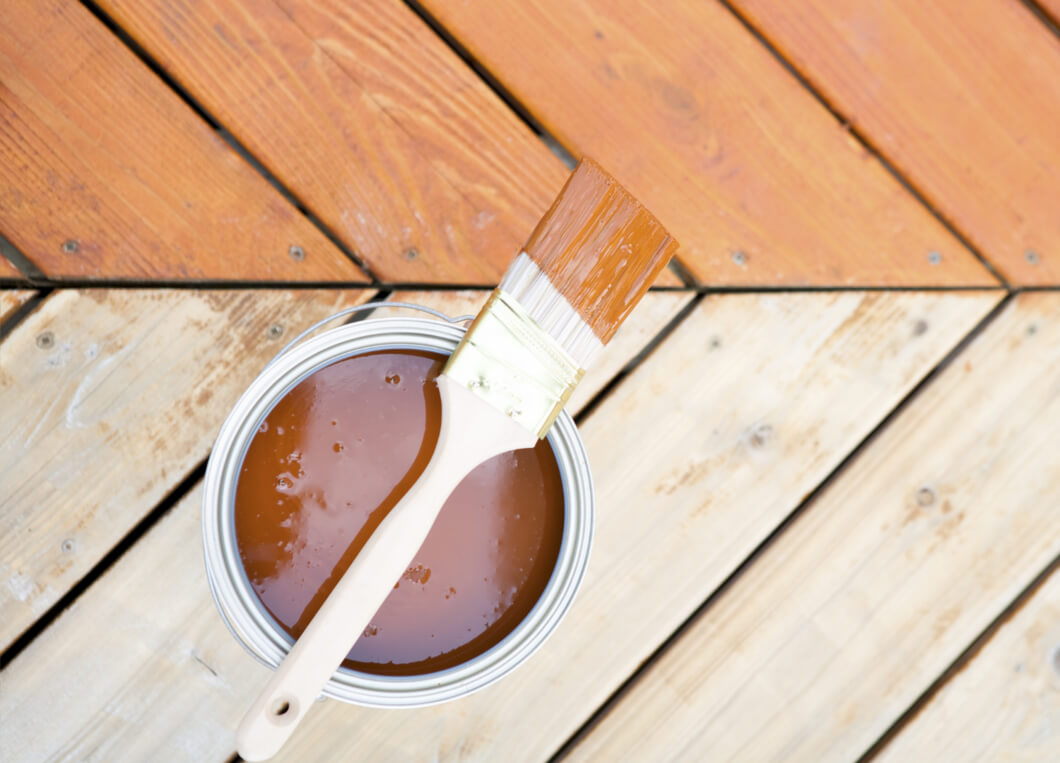
1. Using a roller, paint pad, or brush, load up with your chosen stain and apply it in long, smooth strokes, always following the grain of the wood. And remember the old saying about not painting yourself into a corner, the same goes for staining! Start at the furthest edge or wall and work backwards, leaving yourself a suitable escape route. That way, you’ll only be stepping on the old surface or your clean deck rather than your freshly stained boards.
2. Work in manageable sections, gradually expanding outwards across your deck. Be careful not to overlap onto areas where the stain has already dried, as this can leave visible lines or patches. Keeping a steady pace will help you achieve an even, professional-looking finish.
3. Make sure every gap and groove in your decking boards is well covered. A smaller brush can be really useful for working stain into the smaller spaces between boards and along edges. Apply the stain generously across the surface so it fully penetrates the timber, giving your deck the best possible protection against the elements.
4. Allow your first coat to fully dry, and check with the manufacturer's instructions before applying another coat.
Top Tip: Wood stain has a nasty habit of ending up everywhere, and it’s not the easiest to remove. Keep some cleaner close by, and wear old clothes along with a good pair of gloves to protect your skin while you work.
STEP 4: DECK RESTAINING TOUCH UP & FINISHING
Once your deck has been restained, it’s important to check that every board and groove has been completely covered. If you spot any areas that have been missed, now is the perfect time to apply any final touches.
1. Allow the decking to dry fully. Missed patches are far easier to see once the stain has set.
2. Use a paintbrush to touch up any lighter spots, blending them carefully into the surrounding finish.
3. Let the touched-up areas dry thoroughly before walking on the deck.
4. If you’ve had to correct several patches, consider applying a second coat across the whole deck surface for an even, long-lasting finish.
Conclusion
Now that we’ve taken a look at the key steps involved in restaining your deck, you should feel far more confident about tackling the process yourself. A freshly treated surface not only looks great but also gives your decking boards the protection they need against the elements. How long the results last will depend on the type of decking stain you’ve chosen, with some offering longer-lasting coverage than others.
If regular staining isn’t for you, why not explore Cladco’s low-maintenance alternatives? Our Signature, ProDeck, Nordeck, and Millboard decking ranges provide long-lasting style without the need for sanding, staining or treating. Simply install and enjoy your outdoor space year after year.
To find out more, visit our decking page to browse the full range or order a sample. You can also call our friendly sales team on 01837 659901.
Last Updated: September 09, 2025
Please note all information is correct at the time of writing. However, we encourage you to do your own research to ensure it remains accurate and relevant to your needs.


